
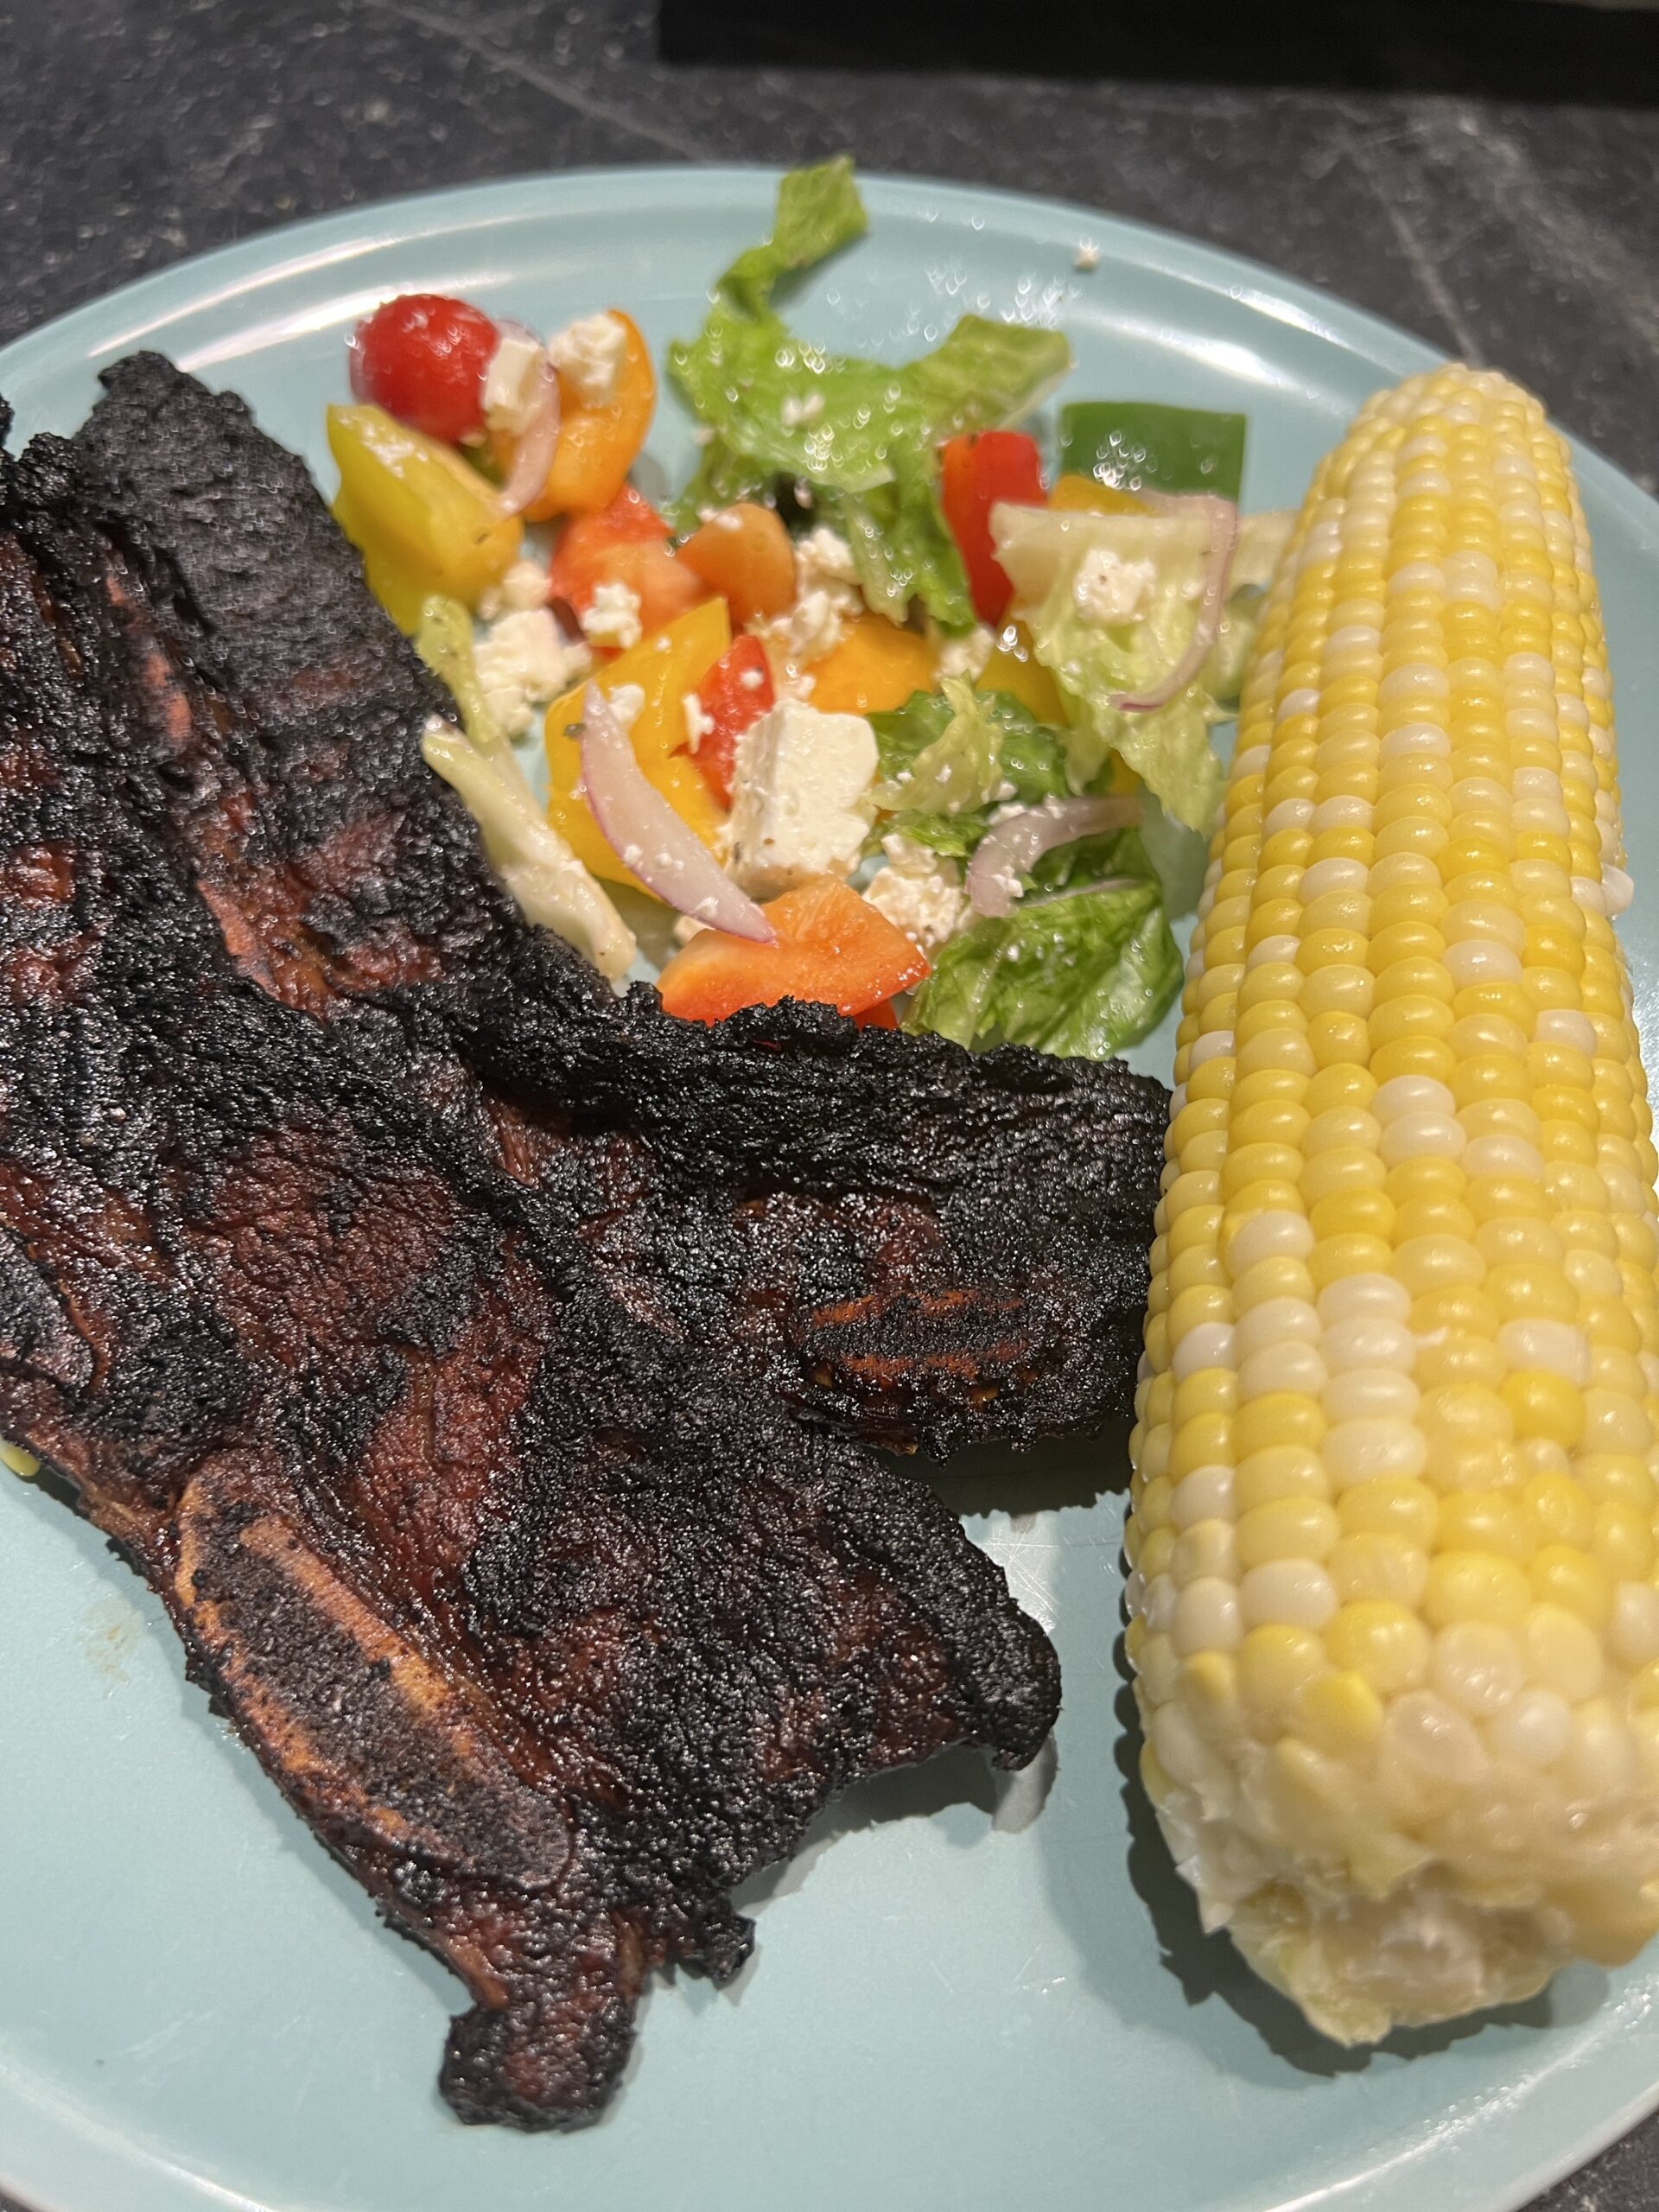
Discover the simplest, fail-proof corn on the cob recipe you’ll ever need. It’s practically impossible to go wrong with this one. Whether you’re hosting a crowd or just looking for an easy weeknight side dish, this recipe has you covered.
I learned this gem of a recipe from my mother-in-law years ago, and over time, I’ve added a few tweaks that turn it into pure corny perfection. Even if you’re not a seasoned cook, this recipe is your ticket to culinary success, and it frees up space on the grill.
First things first, cleaning your corn is key. I like to give them a quick soak in water for about 5 minutes while I’m prepping. Call it a hunch, but I believe it lets the corn soak up some moisture, making it incredibly juicy. You can decide if it’s fact or just a kitchen legend, but I promise, you’ll notice the difference.
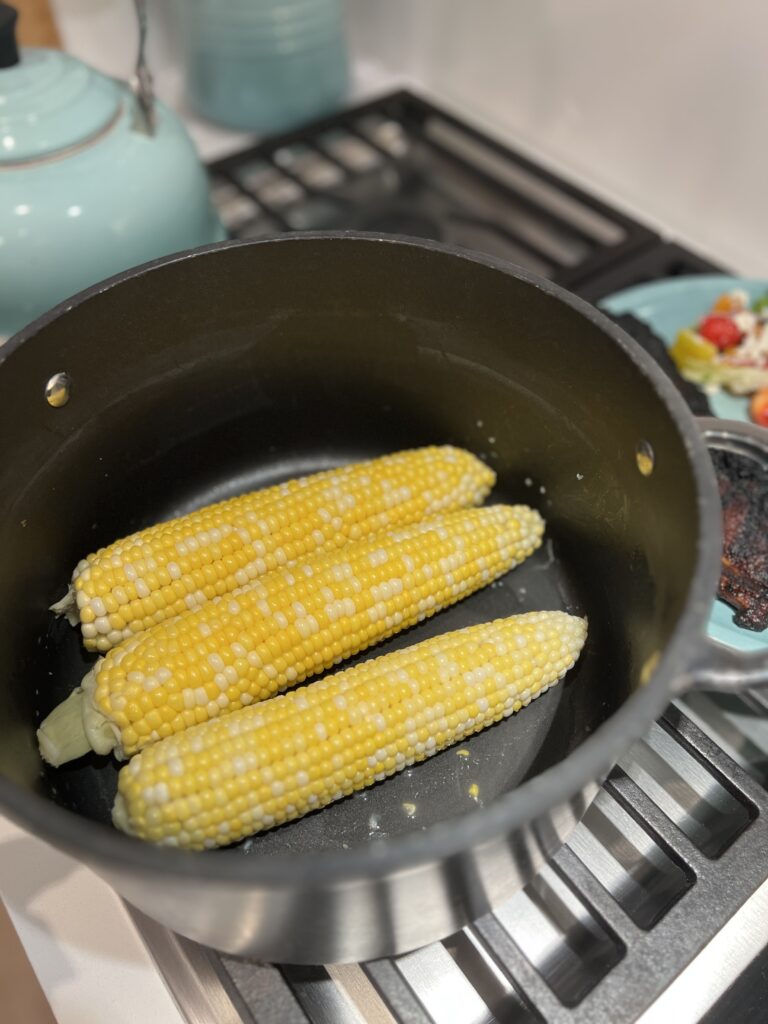
If you’re cooking the corn immediately, place it in a pot and cover it with water. If you’re serving it later, still put it in the pot, add water, and bring it to a boil when you’re ready. The beauty of this recipe is that the corn can hang out and stay warm for about an hour after boiling, so precise timing isn’t necessary, making it perfect for coordinating with other dishes.
If your corn is too long for your pot, no worries. Snap it in half to make it fit easier.
This easy weeknight side dish is also a showstopper for entertaining. It celebrates the natural flavors of corn without the need for extra ingredients, highlighting the pure simplicity of this summer favorite.
While you can buy pre-shucked corn, there’s something special about shucking it yourself—maybe outside. It’s a small-town escape from the city hustle and bustle, if only for a moment.
You still have time to savor this recipe, so don’t forget to share your culinary creations with me by tagging @roxiecappell.

Nutritional information is only an estimate. The accuracy of the nutritional information for any recipe on this site is not guaranteed.
Print Recipe Save to Collections

")


